
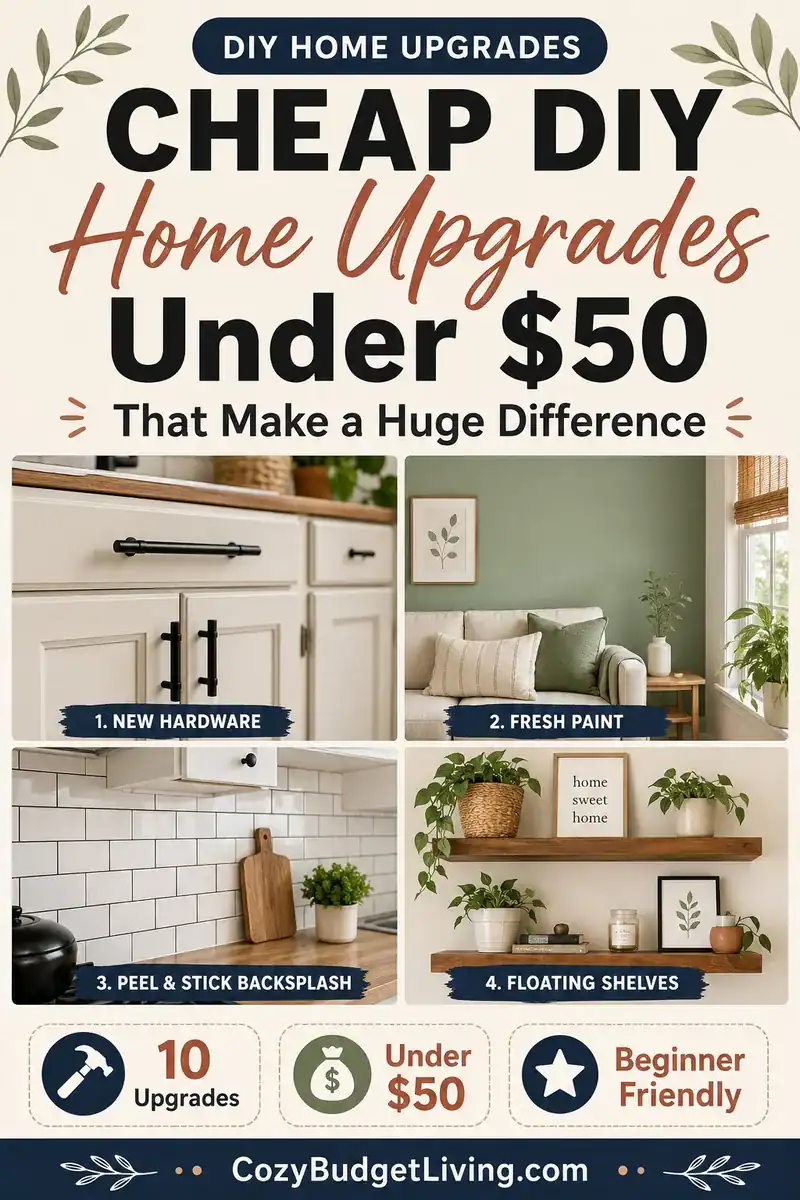
If you have been searching for cheap DIY home upgrades under $50 that actually make your home look and feel significantly better, you are in exactly the right place.
Here is something the home improvement industry does not want you to know — the most dramatic home transformations are rarely the most expensive ones. A fresh coat of paint, new hardware on your cabinets, updated light fixtures, and a few strategic DIY projects can completely change how your home looks and feels — for less than $50 per upgrade.
In 2026, with renovation costs higher than ever and budgets tighter than ever, more Americans than ever are discovering that smart, intentional DIY upgrades deliver results that look far more expensive than they actually are.
These cheap DIY home upgrades under $50 are beginner-friendly, renter-considered, and proven to make a dramatic visual impact without requiring professional skills, expensive tools, or a big budget.
Your home deserves to look beautiful. And it can — starting this weekend, for under $50.
Contents
- 1 Why Cheap DIY Home Upgrades Work So Well
- 2 Upgrade #1: Replace Cabinet Hardware — Under $30
- 3 Upgrade #2: Paint an Accent Wall — Under $35
- 4 Upgrade #3: Update Light Switch Plates and Outlet Covers — Under $20
- 5 Upgrade #4: Install a Peel-and-Stick Backsplash — Under $50
- 6 Upgrade #5: Add Molding to Plain Walls — Under $40
- 7 Upgrade #6: Refresh Your Front Door — Under $25
- 8 Upgrade #7: Caulk Everything — Under $10
- 9 Upgrade #8: Install Floating Shelves — Under $40
- 10 Upgrade #9: Update Your Shower Curtain and Rod — Under $40
- 11 Upgrade #10: Add Peel-and-Stick Wallpaper to One Wall or Small Space — Under $50
- 12 Complete Budget Breakdown
- 13 Frequently Asked Questions
- 14 Q: What is the easiest cheap DIY home upgrade under $50 for beginners?
- 15 Q: Can renters do these DIY home upgrades?
- 16 Q: Which cheap DIY home upgrade adds the most value to a home?
- 17 Q: How do I choose which upgrade to do first?
- 18 Q: Do I need special tools for these DIY projects?
- 19 Conclusion
Why Cheap DIY Home Upgrades Work So Well
Before diving into specific upgrades, it helps to understand why inexpensive DIY projects can have such an outsized visual impact on a home.
Most homes feel dated or uninspiring not because of their fundamental structure — but because of small, easily changeable details that were installed once and never updated. Builder-grade light fixtures from 2005. Brass cabinet hardware from the previous decade. Hollow-sounding interior doors with cheap knobs. Faded switch plates that nobody has thought about in years.
These details cost almost nothing to change — but their combined impact on how a home looks and feels is enormous. Updating them transforms a space from feeling neglected and dated to feeling intentional, modern, and beautifully maintained.
That is the secret of cheap DIY home upgrades under $50. You are not rebuilding anything. You are simply replacing the small details that quietly make a home feel old — with better details that make it feel fresh, updated, and significantly more valuable.
Upgrade #1: Replace Cabinet Hardware — Under $30
Nothing dates a kitchen or bathroom faster than old, worn, or builder-grade cabinet hardware. And nothing updates it faster than new hardware — one of the highest-impact cheap DIY home upgrades under $50 available anywhere.
Replacing cabinet knobs and pulls requires a screwdriver and about 30 minutes. The visual transformation is immediate and dramatic.
Best budget hardware options:
- Matte black pulls — The most popular hardware finish in American homes right now. Modern, clean, and works with virtually any cabinet color. Available at Home Depot and Walmart for $2–$4 per pull.
- Brushed gold/brass — Warm and elegant, pairs beautifully with white and cream cabinets. $2–$5 per pull at Walmart and Amazon.
- Brushed nickel — Classic, timeless, works with everything. $2–$4 per pull.
Budget for a full kitchen: 20 pulls at $3 each = $60. Under $50 for a smaller kitchen or bathroom.
How to do it:
Remove old hardware with a screwdriver. Most new hardware uses standard screw spacing — measure your existing holes before buying to ensure your new pulls fit without additional drilling. Screw in new hardware. Done. The entire project takes under an hour and immediately makes your kitchen look like it was professionally updated.
Upgrade #2: Paint an Accent Wall — Under $35
Paint is the single most transformative cheap DIY home upgrade under $50 — and one accent wall requires only about one quart of paint, which costs $15–$25 at Home Depot or Walmart.
An accent wall — typically the wall behind your sofa, behind your bed headboard, or the wall that faces you when you enter a room — creates an instant focal point that makes the entire space feel intentionally designed.
Trending accent wall colors for 2026:
- Deep sage green — warm, natural, pairs with everything
- Warm terracotta — cozy and on-trend
- Charcoal grey — sophisticated and dramatic
- Dusty blue — calm and beautiful
- Warm cream — soft, elegant, brightening
How to paint an accent wall like a pro:
Clean the wall with a damp cloth. Apply painter’s tape along edges, baseboards, and trim. Cut in around the edges with a small brush. Roll the main surface with a foam roller for a smooth finish. Two coats for full coverage. Remove tape while paint is still slightly wet for clean lines.
Total time: 2 to 3 hours including drying time between coats. Total cost: $15–$35 for paint, tape, and a roller.
Renter alternative: Peel-and-stick wallpaper creates the same impact for $25–$45 and removes completely without damage.
Upgrade #3: Update Light Switch Plates and Outlet Covers — Under $20
This is the cheap DIY home upgrade under $50 that most people never think of — and yet it makes a surprisingly significant difference in how polished and updated a home feels.
Most homes have yellowed, cracked, or builder-grade white plastic switch plates that are decades old. Replacing them with modern alternatives takes less than five minutes per plate and costs almost nothing.
Best switch plate upgrade options:
- Screwless wall plates — These snap-on covers have no visible screws, creating a clean, modern look. Available at Home Depot for $3–$5 each.
- Brushed nickel or matte black plates — Match your new cabinet hardware for a cohesive, designed look throughout your home. $3–$6 each at Walmart or Home Depot.
- Rocker-style plates — More modern than traditional toggle switch plates. $2–$4 each.
Budget for entire home: 10 plates at $3 each = $30. Under $50 for most homes.
How to do it:
Turn off the power at your breaker box. Remove old plate with a screwdriver. Snap or screw new plate in place. Turn power back on. Takes literally two minutes per plate.
Upgrade #4: Install a Peel-and-Stick Backsplash — Under $50
A kitchen backsplash instantly makes a kitchen look more finished, more designed, and significantly more valuable — and peel-and-stick backsplash tiles make it a completely DIY-friendly project that costs under $50 and requires zero professional skills.
Peel-and-stick backsplash tiles are available at Home Depot, Lowe’s, Walmart, and Amazon in subway tile, mosaic, and stone patterns. They look remarkably realistic, are easy to clean, and can be removed without damage in most cases.
How to install a peel-and-stick backsplash:
Clean the wall surface thoroughly and let it dry completely. Measure your backsplash area. Starting from the center, peel the backing and press tiles firmly against the wall. Use a utility knife or scissors to trim tiles at edges. The entire project typically takes two to three hours for an average kitchen backsplash.
Budget: Most peel-and-stick tile sheets cost $8–$15 each. An average kitchen backsplash requires three to four sheets — $25–$50 total.
Visual impact: Transforms a plain, dated kitchen into something that looks professionally renovated. One of the highest-impact cheap DIY home upgrades under $50 available.
Upgrade #5: Add Molding to Plain Walls — Under $40
Architectural details like crown molding, chair rail molding, and picture frame molding are what separate ordinary rooms from rooms that look professionally designed. And in 2026, you can add these details yourself for under $40 using foam molding from Home Depot.
Foam molding is lightweight, paintable, and installs with construction adhesive — no nails, no special tools, no professional required.
Best beginner molding projects:
Picture frame molding on an accent wall — Apply rectangular frames of molding to a wall, paint the entire wall one color, and you have a stunning board-and-batten or picture frame wall effect that looks like it costs thousands. Materials cost $20–$40 depending on wall size.
Crown molding in a small room — Add crown molding where the walls meet the ceiling in one room — a bedroom or bathroom works best for beginners. Foam crown molding costs $1–$2 per linear foot and installs with adhesive in a few hours.
How to do it:
Measure and cut molding pieces to size using a miter box and hand saw (or ask Home Depot to cut them for you). Apply construction adhesive to the back. Press firmly against the wall. Hold with painter’s tape until dry. Caulk gaps. Paint to match the wall or trim. The result looks custom and expensive.
Upgrade #6: Refresh Your Front Door — Under $25
Your front door is the first thing visitors and potential buyers see — and a fresh coat of paint on your front door is one of the easiest and most impactful cheap DIY home upgrades under $50 available.
A single quart of exterior paint ($15–$20) and an afternoon is all it takes to completely transform your home’s curb appeal.
Most popular front door colors in America right now:
- Classic black — timeless, dramatic, works with any home style
- Navy blue — sophisticated and welcoming
- Deep red — warm, traditional, inviting
- Sage green — natural, trending, beautiful
- Bright white — clean and classic
How to paint a front door:
Remove the door from its hinges for easiest access, or paint it in place. Sand lightly to help paint adhere. Apply one coat of primer if changing from a dark to light color. Apply two coats of exterior paint with a foam roller and small brush for details. Rehang and enjoy.
Add new house numbers ($10–$20 at Home Depot) at the same time for a complete front door refresh under $40.
Upgrade #7: Caulk Everything — Under $10
This is the cheap DIY home upgrade under $50 that makes the biggest difference for the least money — and almost nobody does it.
Over time, caulk around bathtubs, showers, sinks, windows, and baseboards cracks, yellows, and peels. This makes every surface it touches look dirty and neglected — no matter how much you clean.
Fresh white caulk around your bathtub, shower, kitchen sink, and windows makes everything look brand new for under $10.
How to recaulk:
Use a utility knife or caulk remover tool to remove all old caulk completely. Clean the surface thoroughly with rubbing alcohol. Apply new caulk smoothly using a caulk gun. Smooth with a wet finger. Let dry completely before using.
A tube of caulk costs $4–$8 at Home Depot. A caulk gun costs $6–$10. The entire project takes a few hours and makes your bathroom and kitchen look freshly renovated.
Annual savings: Fresh caulk prevents water damage that costs thousands to repair — making this the most financially smart upgrade on the list.
Upgrade #8: Install Floating Shelves — Under $40
Empty walls are missed storage and styling opportunities. Floating shelves transform blank walls into beautiful, functional display and storage spaces — and installing them yourself costs a fraction of what a carpenter would charge.
Best floating shelf options under $40:
- IKEA LACK shelves — $8–$15 each, clean and modern
- Home Depot wood shelves — $10–$20 each, more substantial
- Rustic wood on pipe brackets — $25–$40, industrial and popular right now
- Corner floating shelves — $15–$25, maximizes unused corner space
Where to install floating shelves:
- Above the toilet in the bathroom
- In the kitchen for spices and small plants
- In the bedroom for books and bedside items
- In the living room as an alternative to a bookshelf
- In the entryway for keys, mail, and small items
How to install floating shelves:
Locate wall studs with a stud finder ($15 at Home Depot). Mark shelf position with a level for perfectly straight installation. Drive screws through the bracket into studs. Slide shelf onto bracket. Done.
Upgrade #9: Update Your Shower Curtain and Rod — Under $40
A new shower curtain and curved shower rod is one of the most overlooked cheap DIY home upgrades under $50 — and yet it completely transforms a bathroom in minutes.
A curved shower rod ($25–$35 at Walmart or Home Depot) bows outward instead of straight across, creating significantly more space inside the shower and making even the smallest bathroom feel larger and more luxurious.
Add a new white or linen shower curtain ($10–$20) and the entire bathroom feels fresh, clean, and updated — for a total investment of $35–$50 and about 15 minutes of installation.
Upgrade #10: Add Peel-and-Stick Wallpaper to One Wall or Small Space — Under $50
Peel-and-stick wallpaper has revolutionized budget home decorating. It looks beautiful, applies easily, removes without damage, and costs a fraction of traditional wallpaper or paint.
Best spaces for peel-and-stick wallpaper:
- Bathroom accent wall — Small space means small cost. One or two rolls covers a bathroom wall for $20–$40.
- Inside a bookshelf — Line the back of a bookshelf with patterned wallpaper for a dramatic, custom look. $15–$25 for most bookshelves.
- Powder room walls — Small rooms make full wallpaper affordable. $30–$50 for a small powder room.
- Kitchen backsplash — Already covered above — peel-and-stick tile is a specific type of this concept.
- Stair risers — Apply strips of patterned wallpaper to each stair riser for a custom, designer look. $20–$40 depending on staircase size.
Complete Budget Breakdown
| Upgrade | Cost | Difficulty |
|---|---|---|
| Replace cabinet hardware | $20–$50 | ⭐ Easy |
| Paint accent wall | $15–$35 | ⭐⭐ Medium |
| Update switch plates | $15–$30 | ⭐ Easy |
| Peel-and-stick backsplash | $25–$50 | ⭐⭐ Medium |
| Add wall molding | $20–$40 | ⭐⭐ Medium |
| Refresh front door | $15–$40 | ⭐⭐ Medium |
| Recaulk everything | $10–$20 | ⭐ Easy |
| Install floating shelves | $20–$40 | ⭐⭐ Medium |
| New shower curtain + rod | $35–$50 | ⭐ Easy |
| Peel-and-stick wallpaper | $20–$50 | ⭐⭐ Medium |
Frequently Asked Questions
Q: What is the easiest cheap DIY home upgrade under $50 for beginners?
Replacing cabinet hardware and updating light switch plates are consistently the easiest upgrades for complete beginners — requiring only a screwdriver, no special skills, and delivering immediate dramatic results. Start with these two upgrades before attempting anything more complex.
Q: Can renters do these DIY home upgrades?
Most of these upgrades are renter-friendly or easily reversible. Peel-and-stick backsplash and wallpaper remove without damage. Switch plates can be swapped back at move-out. Cabinet hardware can be replaced with originals before leaving. Always check your lease agreement before making any changes and save original hardware in a bag to reinstall at move-out.
Q: Which cheap DIY home upgrade adds the most value to a home?
Fresh paint — especially on the front door and as an accent wall — consistently delivers the highest return on investment of any home improvement project. Recaulking delivers the highest value relative to cost by preventing expensive water damage.
Q: How do I choose which upgrade to do first?
Focus on the upgrade that addresses your home’s biggest visual pain point. If your kitchen feels dated — start with cabinet hardware. If your bathroom looks neglected — start with recaulking and a new shower curtain. If your home feels dark and unwelcoming — start with a fresh paint color. Fix the biggest problem first.
Q: Do I need special tools for these DIY projects?
Most of these projects require only basic tools — a screwdriver, painter’s tape, a level, and a utility knife. A stud finder ($15 at Home Depot) is needed for floating shelves. A caulk gun ($8) is needed for recaulking. None of these projects require power tools or professional equipment.
Conclusion
Cheap DIY home upgrades under $50 prove that transforming your home does not require a massive budget, professional contractors, or months of renovation work.
A fresh coat of paint on an accent wall. New matte black hardware on your cabinets. Updated switch plates throughout your home. A curved shower rod and fresh shower curtain. Recaulked surfaces that look brand new. These small changes combine into a home that looks dramatically more beautiful, updated, and intentional — for a total investment of a few hundred dollars across multiple weekends.
Start with just one upgrade this weekend. Pick the one that would make the biggest difference in the room that bothers you most. Spend $20 to $50. Do the work yourself. And stand back and enjoy a home that looks genuinely better — because it is.
Save this post to Pinterest so you can tackle one upgrade every weekend! 📌
Related Posts You’ll Love: